In the following exercise, you will create a VM using Nutanix v3 APIs. The VM will be created in a powered off state with no disks attached.
Note
Estimated time to complete: 20 MINUTES
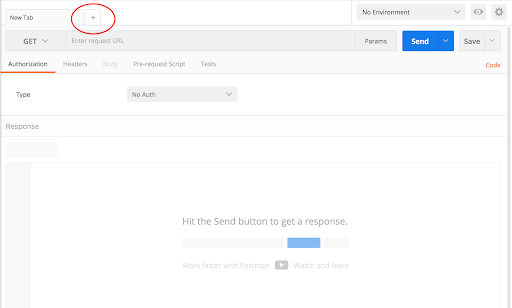
Click + in the main window to create a new tab-window
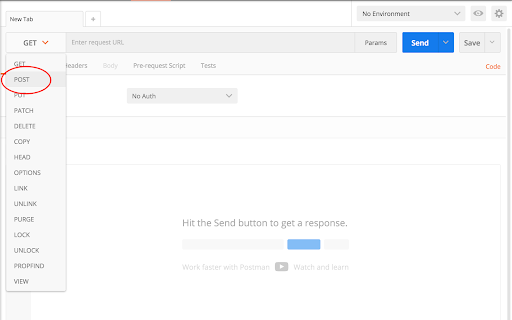
Click the dropdown and select POST
- v3 is RESTful and uses standard HTTP verbs like GET, POST, PUT, DELETE
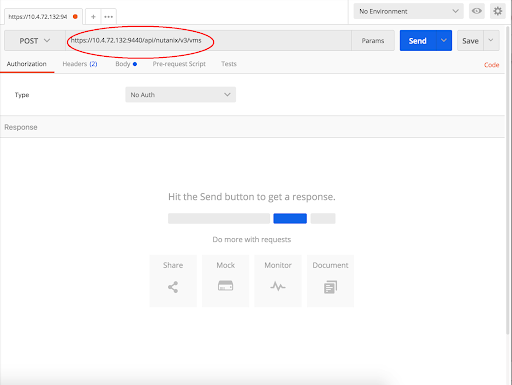
Enter the URL to create a VM
- https://{{prism_central_ip}}:9440/api/nutanix/v3/vms
- v3 exposes semantic URLs to make understanding and using the API easy
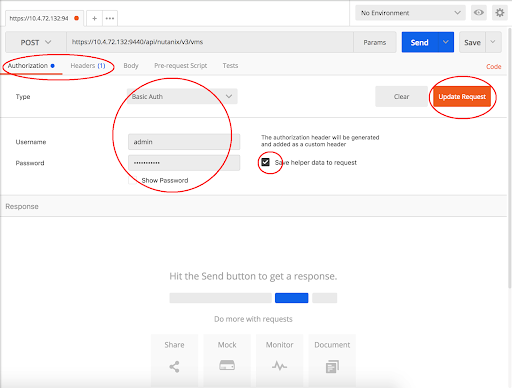
Configure basic authentication for this API call
- Click the Authorization tab and select Basic Auth from the Type dropdown
- Enter Prism credentials of the cluster, and click Update Request:
- Username - admin
- Password - Use the “Prism login password” from handout
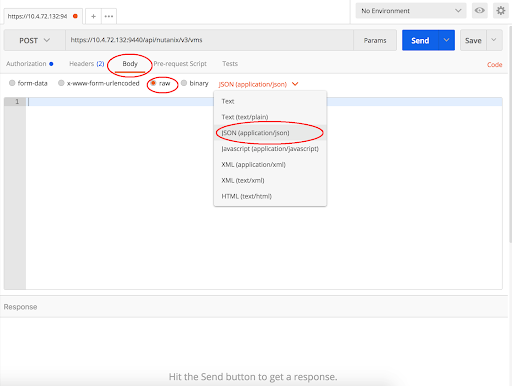
Set the media type to application/json
- Click the Body tab
- Select the radio button for raw
- Click the Text dropdown and select JSON (application/json)
Fill out the body
- Copy or type the following JSON as the VM intent input
{
    "spec": {
        "name": "API-VM-<initial>",
        "cluster_reference": { "kind": "cluster", "uuid": "<clusteruuid>"},
        "resources": {
            "num_vcpus_per_socket": 1,
            "num_sockets": 1,
            "memory_size_mib": 1024,
            "power_state": "OFF"
        }
    },
    "api_version": "3.0",
    "metadata": {
        "kind": "vm"
    }
}
- Change the VM’s name to add your initials at the end of VM name. Replace <initial> with your initials
- You will need to replace <clusteruuid> with your cluster UUID from exercise 1
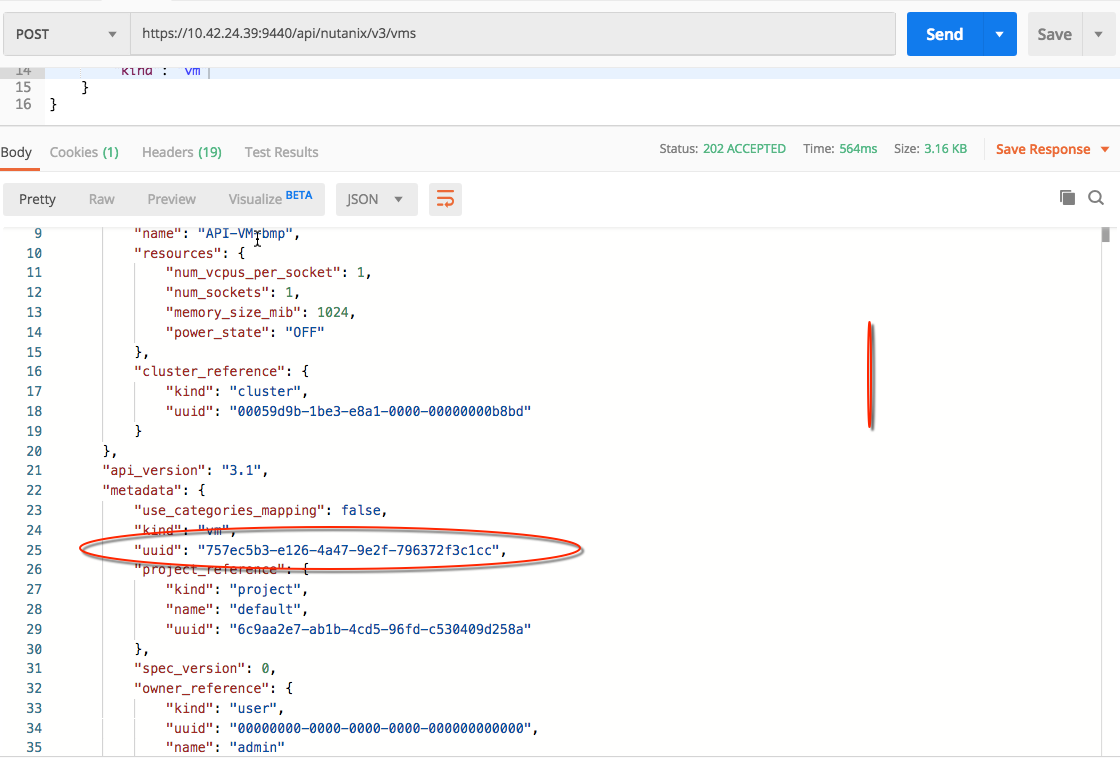
- Take note of your VM UUID from the response
Click Send to submit the v3 API call
v3 provides a precise HTTP status and replies with the relevant intent response